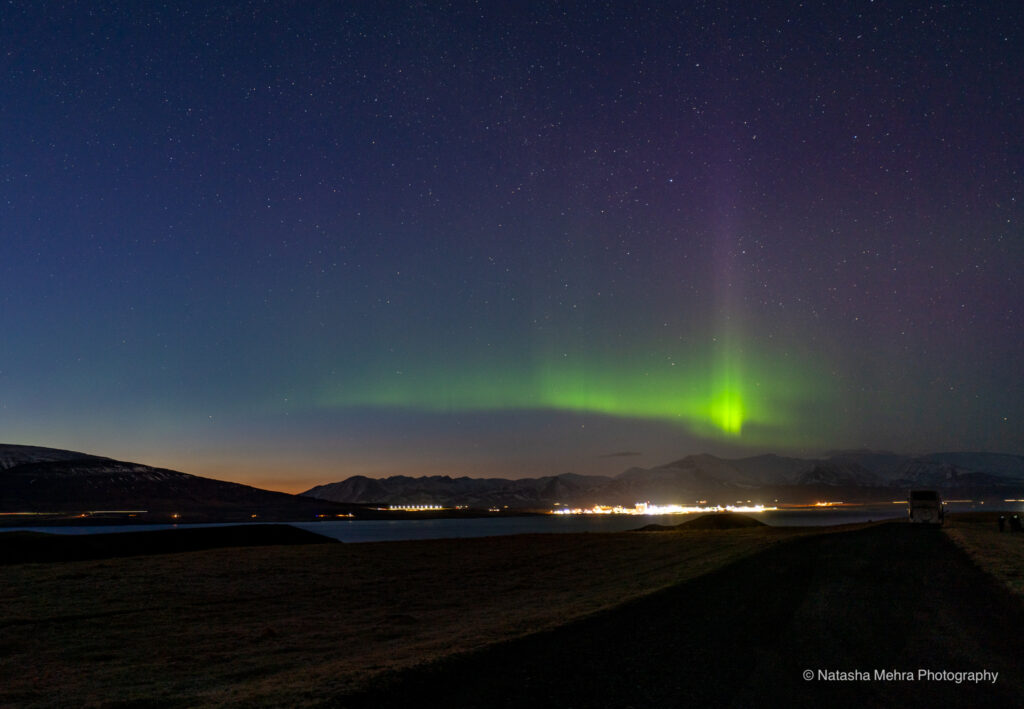
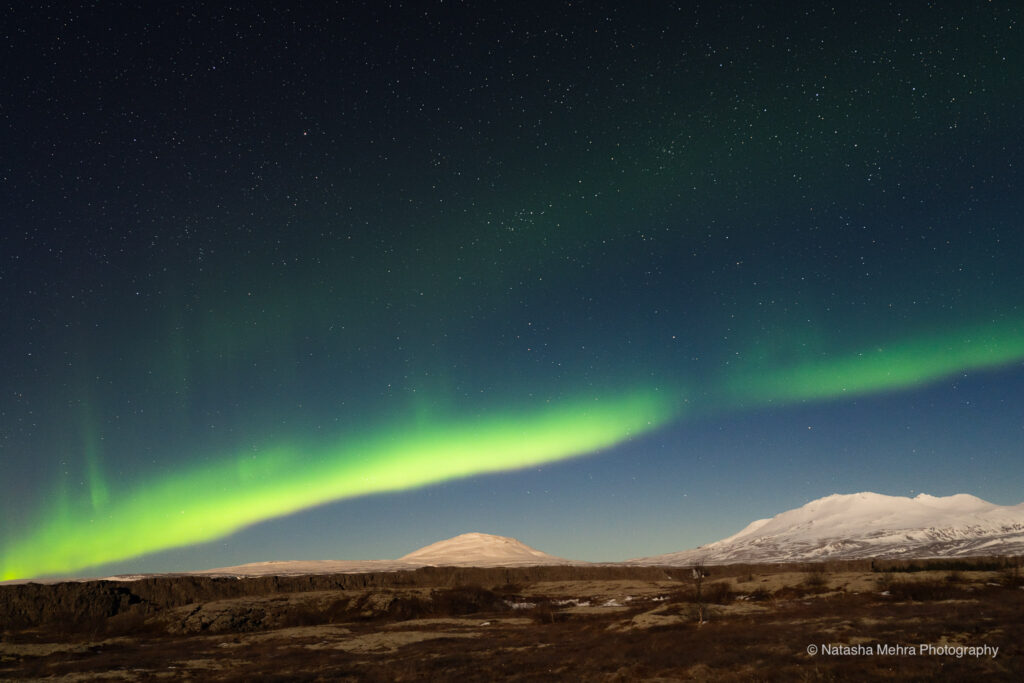
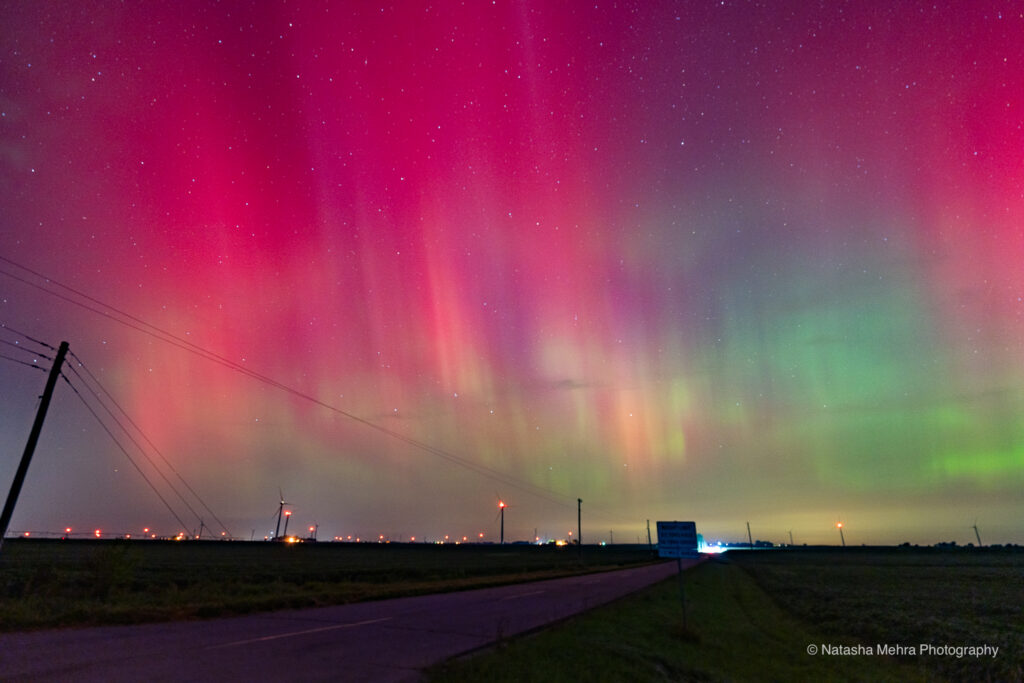
Every year, I choose a new photography skill I want to learn. In 2024, I chose photographing the Northern Lights and I was able to see and photograph them on multiple occasions in both Iceland and the U.S. If you’re looking to experience and photograph the Northern Lights this year, you may not have to travel far! Here are some of my experiences, learnings and suggestions. I hope it helps!
Location:
Location is really important. To understand why, you have to know what the Northern Lights actually are. To summarize, the sun releases charged particles (aka protons and electrons) that travel toward the earth and move towards the polar regions (the Earth’s magnetic field is strongest at the poles). The particles collide with gases in the Earth’s atmosphere, transferring energy that causes gases to emit the light we see. SO, north pole = northern lights and south pole = southern lights. Northern lights are most visible near the arctic circle:
Norway – Iceland – Sweden – Finland – Canada – Alaska – Russia – Greenland – Scotland
and the southern lights would be most visible in the antarctic and the southern parts of Australia and New Zealand.
That said, in a geomagnetic storm or solar maximum (occurs every 11 years — sun’s activity is at its peak, releasing more solar wind and causing geomagnetic storms that can extend further south), there’s a possibility to see the storms at lower latitudes. In fact there have been instances where the lights have been seen as far south as Texas. Here is a list of more likely placed to spot the northern lights in the US:
Minnesota – Michigan – Montana – North Dakota – Maine – Washington State
There are always exceptions. In 2024, I saw the lights in Illinois, Indiana, and New Hampshire. We’ll talk more about forecast and how to know when you can see them in the next few sections, but staying on the topic of location, it’s helpful to be in a darker place with less light pollution. This year the lights were witnessed even in cities like Chicago, but to have a more prominent view, the darker night sky, the better. If you live in a state with an International Dark Sky site, that may be the best place to go.
As I am writing this, I am thinking of how important it is to reduce light pollution and keep our skies dark, for so many reasons. If you are curious.
Forecasting:
Let’s talk a little bit about forecasting. I’ll start with a general concept on time.
Best months: August to April, especially around the autumnal and spring equinox
Best times: From 10:00 PM to 2:00 AM
Best conditions: Clear, dark skies
Knowing all of the above is helpful, but more specifically, there are apps that can help you forecast and there are also facebook groups you can join with people who might be better at forecasting than you are.
Apps that I have used and have found fairly user friendly include, Myauroraforecast (free), spaceweatherlive, and astrospheric (free). If you find these confusing at first, don’t feel bad, it took me timeeee to figure these out!
Facebook groups that I have joined and found helpful include: Northern Lights Alert, Northern Lights Tonight, and Northern Lights | Lake Superior Region. You can probably find groups where you live to alert you as to when they may occur.
Specific to iceland, here is a great resource: Icelandatnight.IS

Camera Equipment:
You can photograph the northern lights with a smart phone, but I’ll be focusing on photographing with a camera and what equipment to use.
1. Camera Body
- DSLR or Mirrorless Camera: ideally your camera has capability to adjust in manual mode, shoot long-exposures, and can shoot at ISO 800 or higher.
2. Lens
- Wide-Angle Lens: A fast lens, typically in the range of 14mm to 24mm, and an aperature f/2.8 or wider.
3. Tripod
- A sturdy tripod is essential to avoid camera shake during long exposures (and especially in windy conditions).
4. Remote Shutter Release or Timer
- Using a remote shutter release or the camera’s built-in timer prevents camera shake when pressing the shutter button. A remote release is especially helpful for long exposures.
- Many cameras have a built-in intervalometer or remote control functionality via smartphone apps (for mirrorless cameras).
5. Memory Cards: at least 32GB or 64GB, especially for shooting in RAW format.
6. Extra Batteries
7. Filters
8. Headlamp/Flashlight:
- a headlamp with a red-light to find your way around the dark without ruining night vision or effecting exposure settings.

Camera Settings
- Shutter Speed: 10-20 seconds
- Aperture: f/2.8
- ISO: I like to try anywhere from 800 and 3200
- Focus: focus lens to infinity
- Shoot in RAW or RAW & JPEG
For more on the equipment I’ve used to photograph the northern lights this year.


